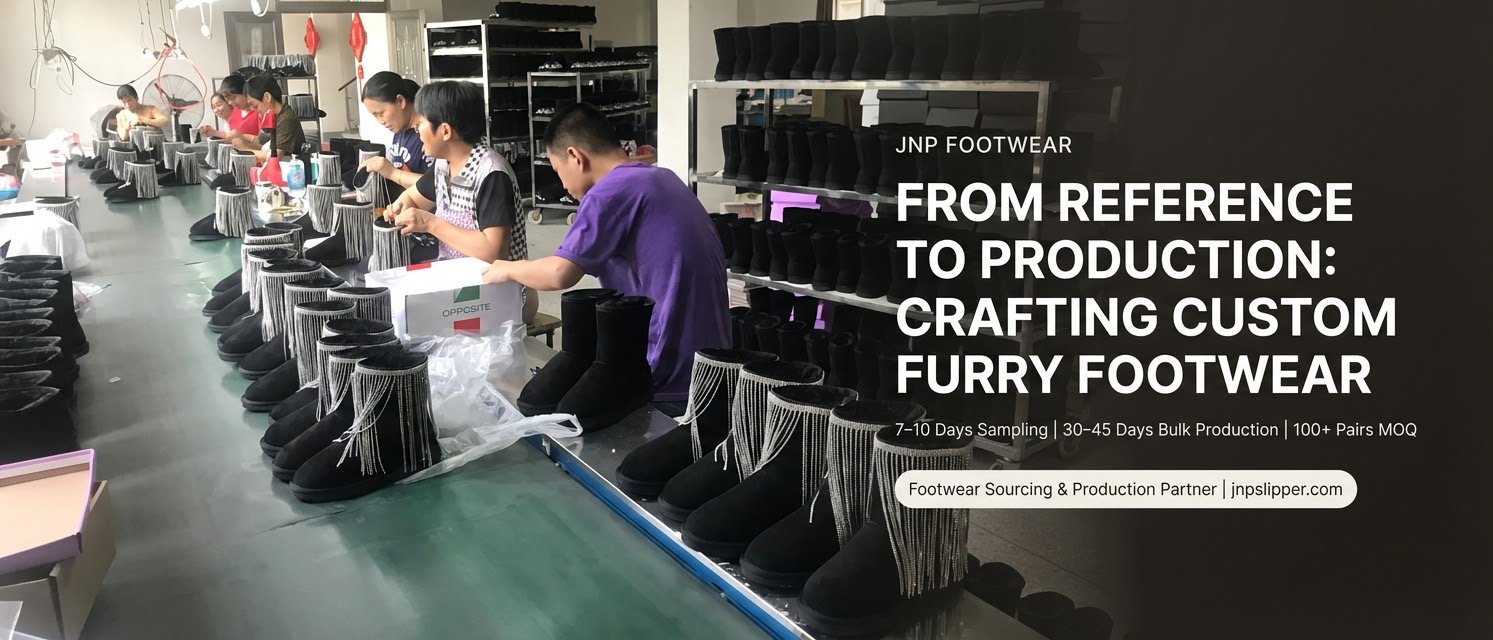
Before producing custom furry footwear, buyers need to confirm three things: what can actually be built from the design reference, how the sizing fits their target market, and how the base material alters the printed artwork. An AI-generated image cannot settle these variables. At JNP, a footwear sourcing and production partner for fashion indoor shoes, we resolve these questions early and verify them on a finished sample—typically made in 7–10 days—before moving into 30–45 days of bulk production.
Check What Can Actually Be Made From Your Reference
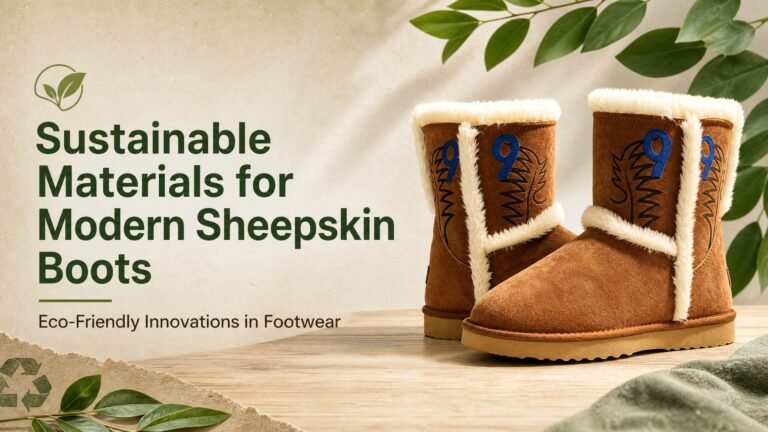
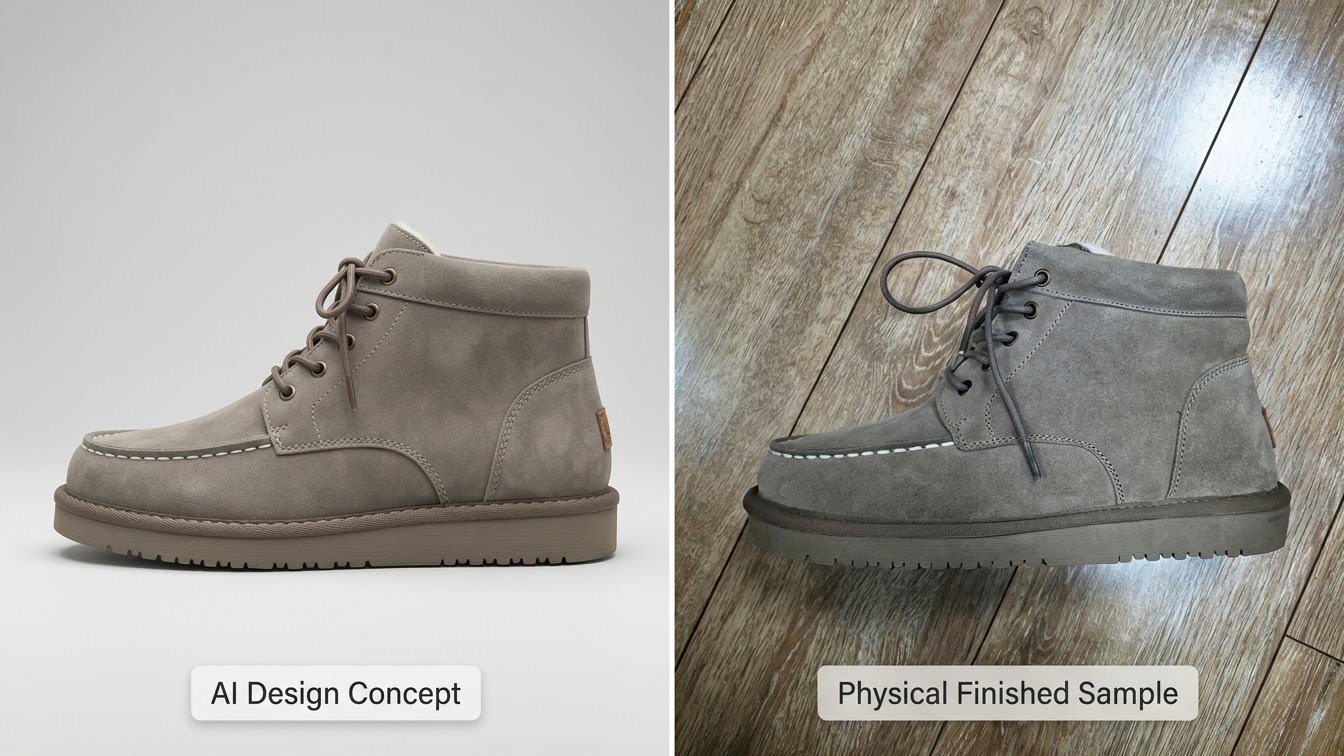
A reference image shows the look you want, not the construction method or tooling cost required to produce it.
Buyers often start with AI-generated concepts or mood-board images. While useful for direction, some visual details cannot be reproduced as drawn, and others carry unexpected costs.
Before sampling, we check whether any feature requires new tooling or a custom shoe mold1. Knowing the cost impact upfront lets you decide whether that exact detail is essential or if an existing alternative achieves the right look.
Embroidery is another common gap. A buyer may want a continuous illustration running smoothly across the shoe, but an upper is stitched from separate panels. Some connecting lines simply cannot cross panel seams cleanly as drawn.
Understanding footwear upper construction2 helps buyers recognize why certain design details need to be adjusted during product development.
Instead of asking a factory to copy an image verbatim, clarify which design details are non-negotiable and which are flexible. This is an important part of the custom footwear manufacturing process3, keeping the first sample aligned with your budget and construction reality.
For a closer look at translating a visual concept into a workable product, see why a shoe supplier cannot simply copy an AI image.
Confirm Sizing Based on Your Target Market, Not Standard Ranges
Your size run must match the people wearing the shoes, not just the factory's default domestic range.
Men's sizing for the US and European markets often differs sharply from standard Chinese domestic ranges. Many overseas projects require extending the size run up to EU 45 and 46. For example, on a one-strap furry slipper project we developed for the US market, buyers specifically needed size 46 included.
Buyers should understand the differences between international shoe size conversion systems4 before confirming their size requirements.
Range extension is only half the equation. On several men's boot projects, buyers also requested sizing up from the initial sample after testing the actual fit.
These adjustments are project-specific, not a blanket rule that every US or European buyer must size up. A size label alone never guarantees fit. Test the sample early against your actual customer profile to confirm both the fit feel and the top-end sizes you need.
Our guide to why the same slipper can fit differently across factories explains how lasts, internal space, and existing size sets affect this decision.
Approve the Material and Print Effect Together
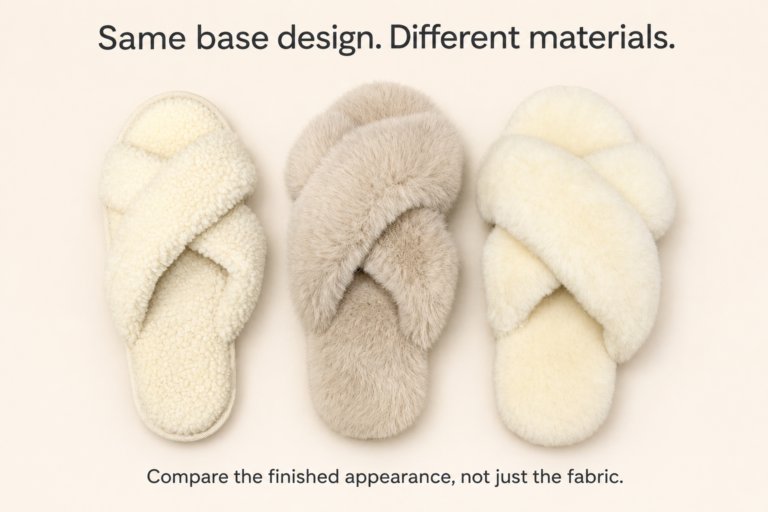
The base material changes how printed artwork looks, so never approve a pattern on screen alone.
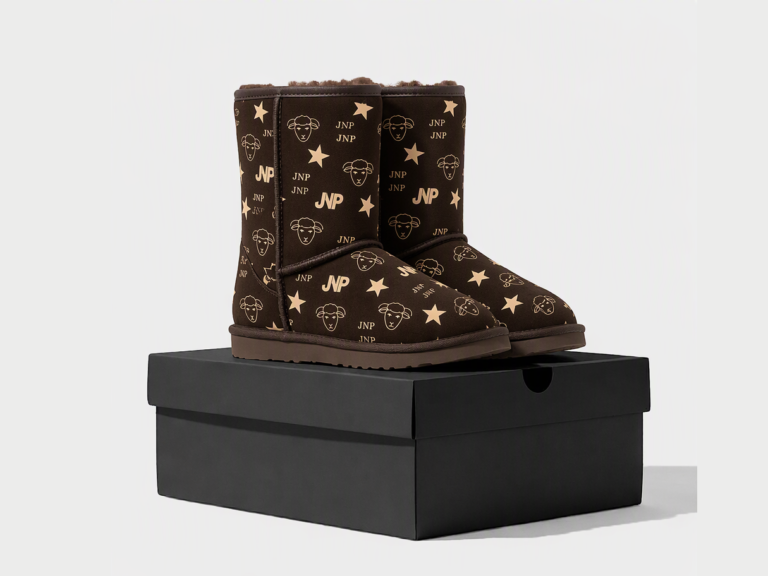
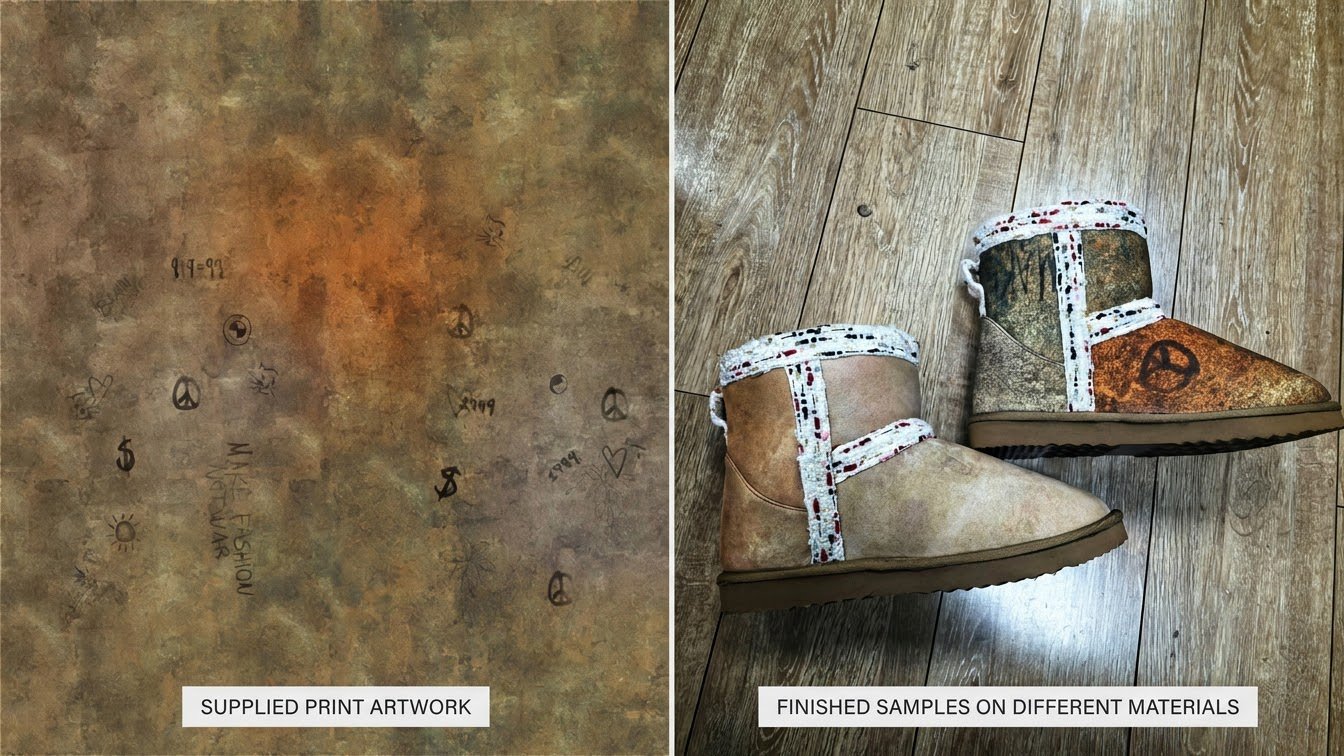
In our recent printed boot projects, the exact same artwork produced noticeably different results depending on the upper fabric. On one surface, the print came out crisp and sharp; on another, the texture made the pattern look softer and slightly hazy.
These differences are related to textile material properties and printing techniques5, including surface texture and the way different fabrics interact with printing processes.
Neither outcome is automatically wrong. Some brands want strict fidelity to their original file, while others realize the softer, diffused look actually suits a furry or textured shoe better.
That is why we review physical printed swatches during development rather than relying on digital mockups. If your footwear includes prints or patterns, evaluate the artwork and the material together before locking in production.
For an example of adding a brand-specific pattern to an existing silhouette, explore our custom printed winter boots project.
Use a Finished Sample to Lock In All Three Decisions
A finished sample is the only way to verify that your design, fit, and surface effect work together before bulk production.
Approving individual elements separately still leaves room for surprises. A digital image cannot prove fit, and a flat material swatch cannot show how a pattern wraps around a lasted shoe.
| Pre-Production Checkpoint | What a Reference Shows | What Production Actually Requires |
|---|---|---|
| Design & Craft | Seamless AI visuals or continuous art | Panel seam limits, tooling, and mold cost checks |
| Sizing & Fit | Standard size labels | Market-specific fit testing and extended sizes (e.g., EU 45–46) |
| Print & Surface | Flat digital artwork | Physical material swatches to confirm sharp vs. soft print clarity |
Following a structured footwear sample development process6 allows buyers to evaluate the finished product before approving bulk production.
Reviewing a complete sample brings all three decisions onto one physical shoe, allowing you to catch adjustments during the 7–10 day sampling stage rather than after bulk production starts.
If you are developing custom furry slippers, boots, or flats, share your design references, target customer sizing, and material preferences early. JNP will help you align construction, fit, and surface effects so your production starts on a clear, verified sample.
Footnotes
Helps buyers understand when a custom outsole mold or other tooling is required, why it increases development costs, and when an existing mold may be a more economical alternative. ↩
Explains how footwear uppers are assembled from individual components and why panel seams can limit the placement of continuous embroidery or artwork. ↩
Explains the key stages of custom footwear development, helping buyers understand why a visual reference must be translated into practical construction details before production begins. ↩
Helps international footwear buyers understand why size labels differ across markets and why they should confirm the required size range before approving samples. ↩
Explains how fabric composition, surface texture, and material characteristics influence print sharpness, color appearance, and pattern definition. ↩
Provides a practical framework for evaluating construction, sizing, materials, and workmanship before authorizing bulk production. ↩